Entering your company data
1. General Settings
Click on the link of your name and surname (company) and choose Settings from the drop-down menu.

1.1 Check and complete company's data
- Registration number
- Company name
- Company name (longer)
- Location of service - City (in case the location is different than the company address)
- Footer text (text that will be shown in the footer of the invoices and delivery notes)

1.2. In the following menu configure the MetaKocka settings

1.3. Setting up the fiscal cash register

Instructions for forming a fiscal cash register can be found here
Your company is not the taxpayer? Guidelines
To add the logo, click ''browse'', choose logo from your computer, and click ''Download picture''of


If your company is operating at several addresses, click on ˝Add address˝ and enter the necessary data


1.1. To add a new user, click on the icon +

1.2. Entering user's data

Enter data of the new User. Mandatory fields are marked with (*)
- Enter the E-mail address. (Note - The provided e-mail address needs to be entered correctly, otherwise user may not receive your invitation)
- Enter the password for the user
- Enter the Name of the new User
- Enter the Surname of the new User
If the user will be issuing invoices, a business unit needs to be assigned to him with the tax number provided.

A user may be granted the following permissions: access to prices on the delivery note, the goods received note, inter warehouse transfer orders, and commissions (add a checkmark) "Show prices".
Specify if the place of service is different than the company headquarters.
Specify if the user is also Employed in your company.
If the user is employed in your company, cost/hour can be assigned to him, which is taken into account when implementing work orders.
If the user is your supplier/manufacturer - choose his/her company. The work expense of that user will be taken into account on the work order through the purchase price list
A user may have a default warehouse assigned, which is taken into account when creating the receiving and delivery notes, in the visibility of prices on delivery and receiving notes, together with the scanned signature.
1.3. User rights
Rights are assigned to users by adding the checkmark in front of the area(s) that will be assigned to them.

Rights are assigned to user by adding or removing the checkmark in front of the area that you want to add or remove from user..
Example: User should only see his sales invoices - how to configure checkmarks:
- Sales - no
- Buyer - no
- Administrator- own records - yes
- Invoice - no
- Administrator- own records - yes
- Reports - all - no
- Sales - no
- Domestic invoice sales - yes
If you choose the 'Overview'' option, certain documents can be viewed, but not necessarily edited/added or deleted by the user.
If you choose - Worker - Consumption Input - in work orders, user cannot see the prices, but he does see the work orders on which he's projected to work or is currently working.
Numbering documents
1.1 Settings - choose Numbering

1.2 Enter prefixes of your documents

For each area/document, you may set automatic or manual numbering of documents or records in MetaKocka.
Automatic numbering is configured by entering values in the following columns colored in green: Prefix, Next number and Buckle up. If the field is empty, the document will be numbered manually.
If you do not start using MetaKokka at the beginning of the financial year, you have already issued some invoices, delivery notes, and offers in the previous program. In green columns, as shown above, enter prefix, from which the numbering will continue in MetaKocka.
Save your records.
IN THE CASE OF USING A FISCAL CASH REGISTER, NUMBERING IS AUTOMATIC,
FOR SALES INVOICES THAT WILL NOT BE VERIFIED ON FURS, AUTOMATIC NUMBERING IS SUGGESTED.
Import of initial states
1.1. Settings - choose Data import

1.2. Data import - prepared Excel templates for importing initial states

Initial values are imported in the following order:
- Read the instructions that are described in ''Preliminary steps of Importing''
- Download Excel tabels
If all the conditions outlined by the instructions above are met, you may continue with downloading prepared Excel files to your computer - by clicking on the following links:
- Partners (Customers, Suppliers)
- Products
- Invoices
- Warehouse (initial stock)
you will transfer all the necessary templates for entering your initial data. Open the downloaded files and fill them out according to the instructions, which can be found in the first (yellow) row in each file.
When you finish with data entering in Excel files, save your entries.
1.3. Importing files

With the help of the button ''Browse'', choose the files, that you filled out in the previous step.
Specify ''Data type'', by type of data contained in the importing table and click on ''Import data''.
In the field "Transfer Report," the transfer report will be displayed and in case of an error, read it and fix it accordingly. After fixing the table error, save it and retry importing it.
The landing page of Metakocka
1.1. The landing page of MetaKocka


With the help of a drop-down menu, the following can be chosen:
- *"Basic content" - navigation display (Sales, Purchase, Warehouse) and
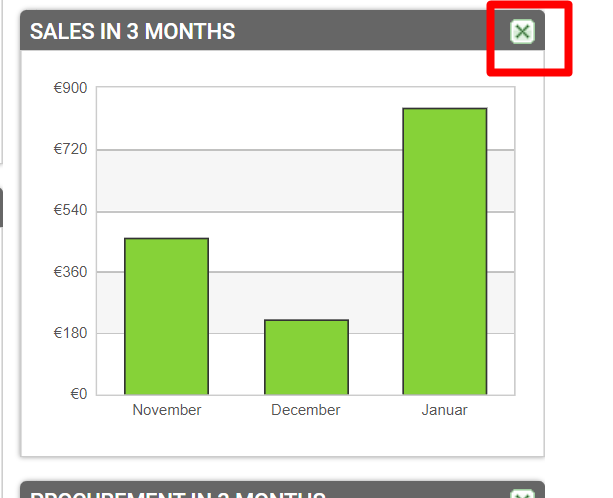
- *"Charts" i.e. graphs, which graphically portray your business - for instance, top 5 customers of the last month, overdue debt from customers...
1.3. Adding and removing content on the Landing page

If you want to rearrange the content with the mouse, grab the title part of the Content (the mouse cursor turns into a cross) and drag it to the place where you would like to position it.
For the owners of online stores
Instructions for the owners of online stores can be found on the link
Was this article helpful?
That’s Great!
Thank you for your feedback
Sorry! We couldn't be helpful
Thank you for your feedback
Feedback sent
We appreciate your effort and will try to fix the article